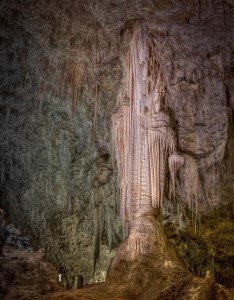
Each subject was a unique shape with unique lighting. So, each HDR photorequired careful exposure settings to recreate the way the scene looked in the cave.
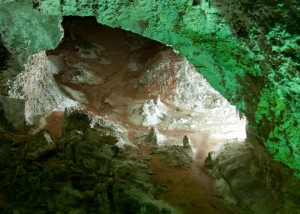
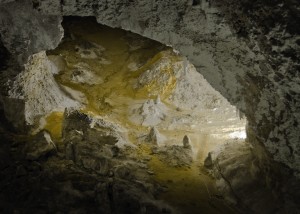
I relied heavily on the HSL color adjustments in Lightroom to tame the kryptonite green that glowed throughout the images.
Subduing the green required shifting the hue toward yellow, desaturating it, and making it darker.
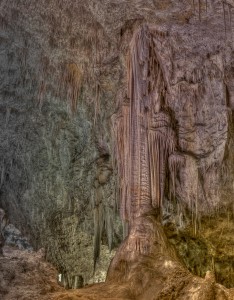
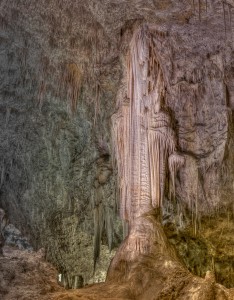
In addition, the HDR tone mapping tended to flatten lighting across the image. I was OK with this because it gave me the option of recreating the actual fall off of light as seen by the human eye and the possibility of directing attention to the subject.
I used the adjustment brush to restore light to the subject, making it pop. This change replicated the effect of the actual lighting in the scene.
The final step was to add a vignette effect to the finished image. This restored the “headlights” effect of the actual lighting. Again, because each image had unique issues, I adjusted the midpoint and feathering for each vignette.
This was a lot of work and a long way to go just to get images that feel “natural.” But, I think the results were worth it.
And before I forget, let me mention that capturing and developing these images was a lot of fun and very satisfying. I can’t wait to try other ways of developing these images to bring out their magic and awe. And, in a few years after the lighting upgrade, I’ll be first in line to capture the new look of Carlsbad Caverns.
You can see the whole series of Carlsbad Caverns pictures at my Flickr Gallery.

Thank you for this detailed article. I’m visiting the caverns next week using a Canon EOS 1200 (Rebel T5) and hoping to get some decent exposures using these tips!