Having shot 7- and 9-exposure bracketed sequences, I was well supplied with material to build true HDR images of Carlsbad Caverns.
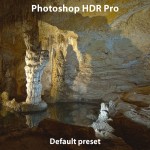
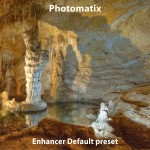
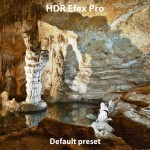
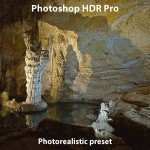
My first challenge was to decide which HDR processing program to use. I had three to choose from: HDR Pro in Photoshop CS5, Photomatix Pro, and HDR Efex Pro.
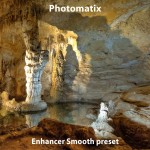
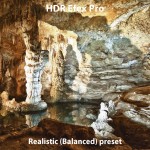
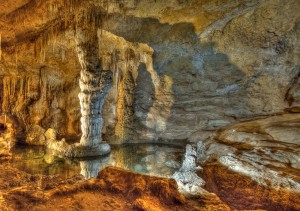
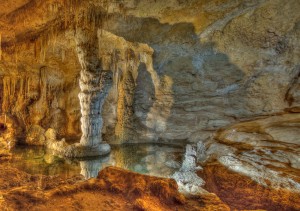
I picked representative bracketed sequences and manually processed them in the different programs. For each program, I used its default preset and a preset aimed at a realistic rendition. Here are some typical results:
I felt encouraged. Though each program produced different results, all three showed potential to achieve interesting images.
In the end, I chose to go with Photomatix because the results were closer to what I remembered from the cave and because it made batch-processing hundreds of images easier.
After several rounds of slider-shoving refinement, I realized that Photomatix offered two distinct looks that I liked: one dramatic and the other offering more detailed shadows.
In the end, I chose the more dramatic look—but dialed it down a bit.
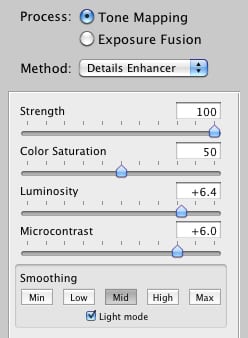
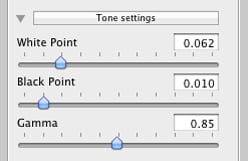
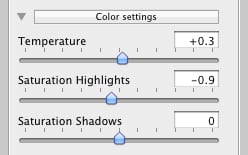
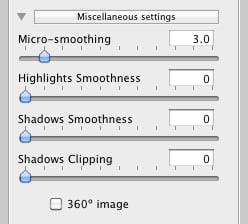
For you Photomatix fans, here are screenshots of the typical tone-mapping settings I used.
After hand-adjusting the processing of the best images, I imported them back into Adobe Lightroom for polishing—the subject of Part III of this post on photographing Carlsbad Caverns.

